
I love making my illustrations into products, I’m particularly drawn to themes of romanticism in my work, so Valentine’s Day is the perfect opportunity to make some fun pieces. I’ll be taking you on a tutorial of how I made my recent Valentine’s Day cards using a range of Derwent products.
I’ve designed four cards this year which are sold in my online store and to my wholesale customers. I wanted to do two cupid themed cards and two cards that can be used all year round, but feature heart imagery.
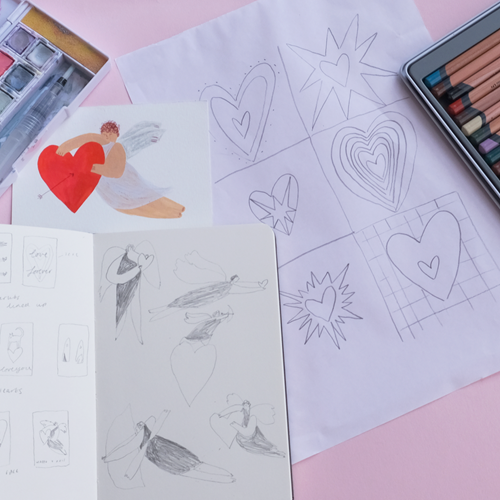
I edit all of my cards digitally, but I always start every project using my art materials. I’m drawn to a range of colours and will be using a mixture of Derwent Lightfast Pencils and Derwent Pastel Shades Paint Pan Set, on Derwent Lightfast Paper. I love using paints and pencils together to create texture and find these two products complement each other very well on the paper.
What you will need:
- Derwent Lightfast Pencils
- Derwent Pastel Shades Paint Pan Set
- Derwent Lightfast Paper
- Sketchbook
- Sugar Paper
Step 1: Sketching
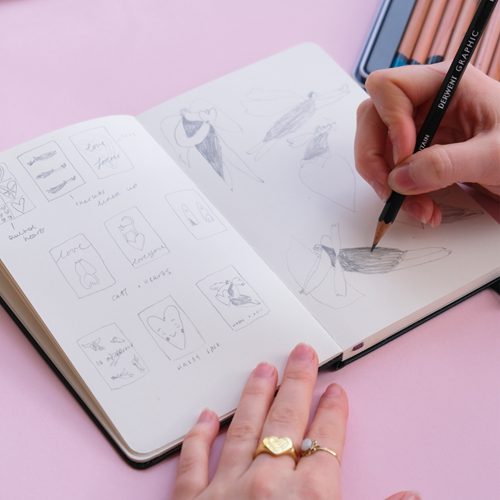
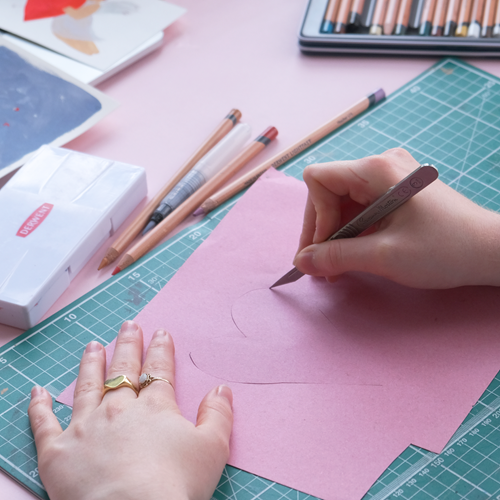
To start, I planned everything out in my sketchbook, I like to make plans of a lot of different ideas before I narrow down and pick my final designs. I’ve been inspired by Victorian cards that feature cherubs and cupids on them and I’ve drawn a lot of these as a point of reference. I’ve also been looking at vintage decorative hearts and want to create a collage quilt-like heart card in a grid format. The final card I’m planning on creating is a large heart cut out of sugar paper, which is something I’ve been experimenting with recently. I sketch all these designs out onto my Lightfast paper, roughly to the size of A5.
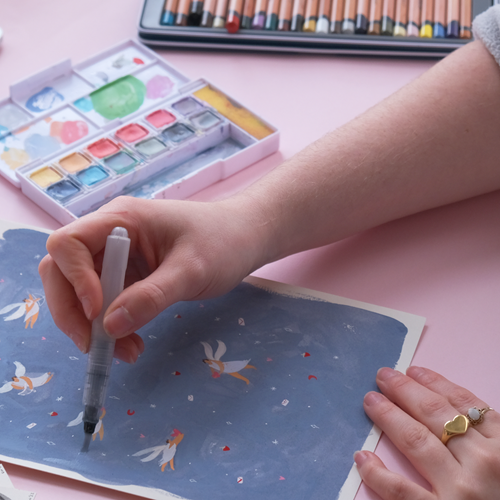
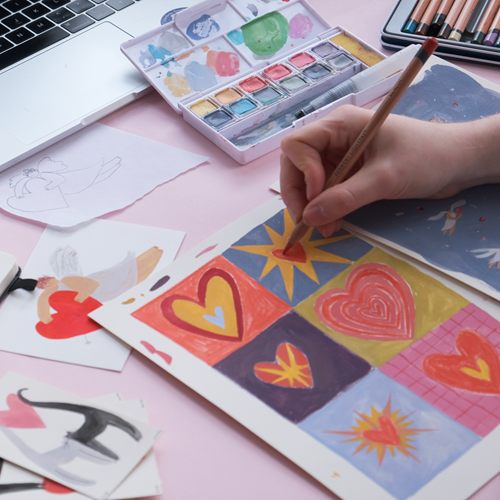
Step 2: Layering
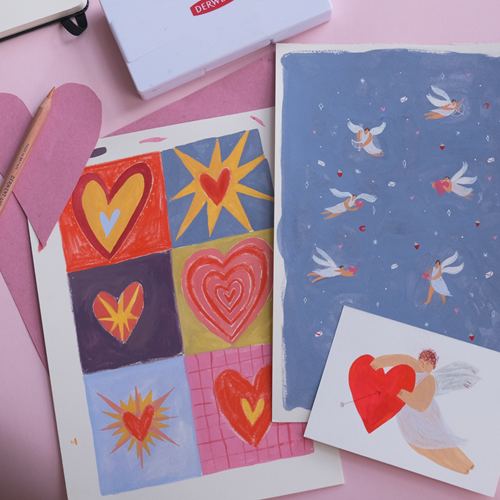
Now I’ve got my designs lightly sketched onto the paper, I begin layering my materials. I paint some pieces as a complete piece on the page, but others I paint in sections and assemble digitally. I start by adding my painted layer first, and then I add details using pencil. Once I’m happy with the results I wait for them to dry and scan them in to assemble digitally.
In the Pastel Shades Paint Pan Set I have used:
- Storm Grey
- Silver Blue
- Cornflower Blue
- Coral Pink
- Peach
The Lightfast pencils I’ve used to create these artworks are:
- Salmon
- Mist
- Yellow Ochre
- Brown Ochre
- Sandstone
- Scarlet
Step 3: Editing
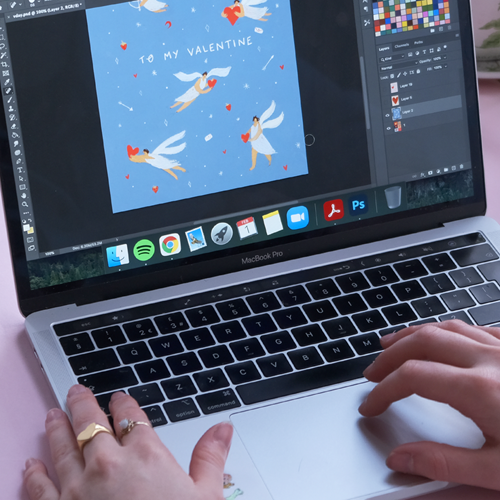
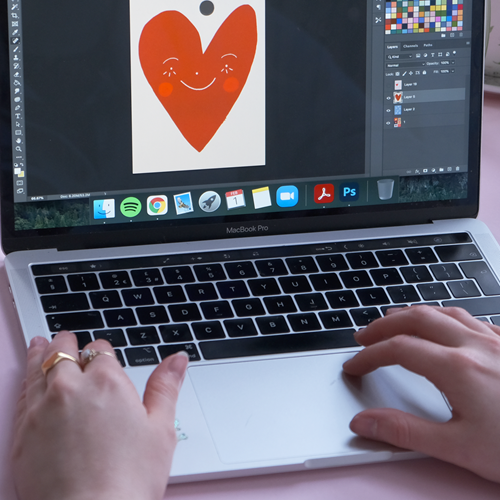
Once I’ve scanned all of the elements in, I assemble everything, add type if necessary and do some tidying up on my laptop. Some designs require some very minor editing, for instance the ‘To My Valentine’ cupid card. But there are others where I plan to add some more details, like the hearts card. I mimic the painting process digitally just to add some finer details. I then work on the back of the design adding all of the important information. The card designs then get sent off to the printers. Whilst I wait for them to arrive I decide which envelopes I’m going to order.

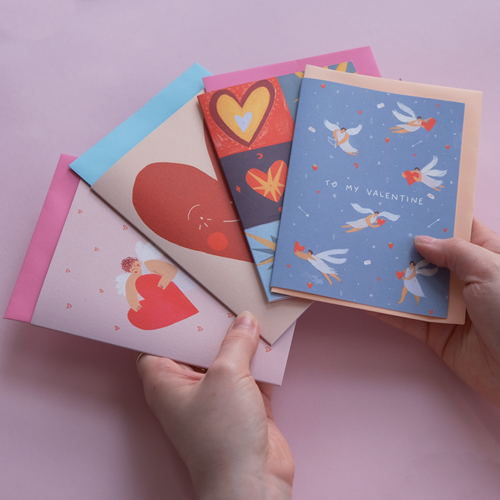
Step 4: Finished!
Here they are, ready to pack and sell. I’m really happy with the way these came out, and the vibrancy of the colours.
Happy Valentine’s Day!
Thank you to Sarah Wilson for providing us with this blog. Discover more of Sarah’s work on her Instagram or view her cards and other works on her website.