
What you will need:
- Inktense Blocks (Pencils or Paints will also work)
- Procolour Pencils
- Dark Pastel Card
- Medium Sized Waterbrush/Brush
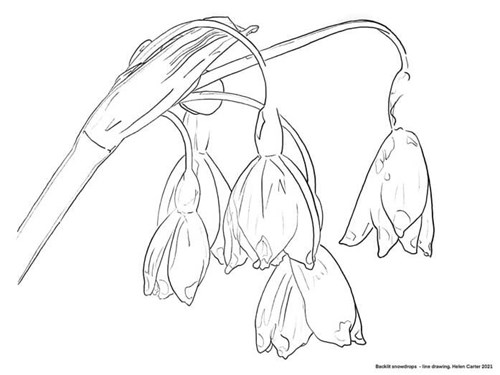 Outline sketch
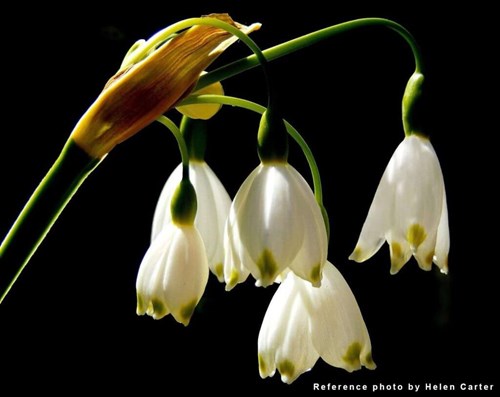
Reference photo
Many coloured pencil artists start with an ‘underpainting’ of some sort as it can really give you a head-start on covering the page. It’s not something I’d tried before, so join me in this little experiment as I create a deep black background and underpaint some contrasting backlit snowdrops.
I used Derwent Inktense blocks for my underpainting. These are incredibly concentrated sticks of bright colours, brilliantly versatile, and water-soluble with the added bonus of being permanent once dry. The Inktense pencils and paint palettes would also give the same results, so if you don’t have the blocks, don’t worry. Use what you have.
After sketching my design onto a dark piece of pastel card with a white Inktense pencil, I realised the colour wasn’t dark enough to make the backlighting on the snowdrops pop off the page.
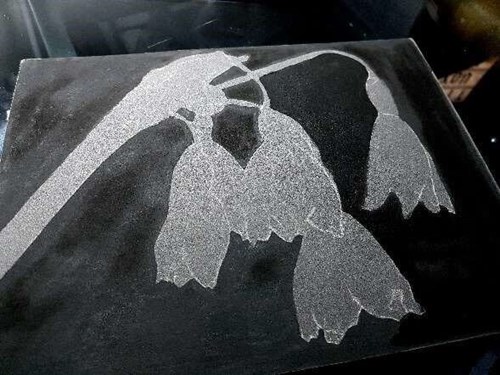
Sketching the design
I turned to the black Inktense block and quickly shaded all around my drawing, being a bit careful not to go over the lines too much. I could also have applied a wet paintbrush directly to the block and used it like a watercolour pan, it would have given the same result.
Using a medium sized waterbrush, I went over the black shading, painting and scrubbing with a little water to dissolve and spread it evenly. The result, once dry, is a lovely matte black background to contrast the bright flowers.
Once the black was completely dry, I was able to block in the snowdrops. I chose to take the pigment direct from the Inktense blocks using a wet paintbrush as I felt a little more precision would be helpful at this stage.
The key element of this drawing is the backlighting – that’s the yellow outlines to the stems and the bright white elements to the snowdrops. Inktense are permanent once dry, so I was able to go back over the brightest areas two or three times without muddying the colours or reactivating the layers below.
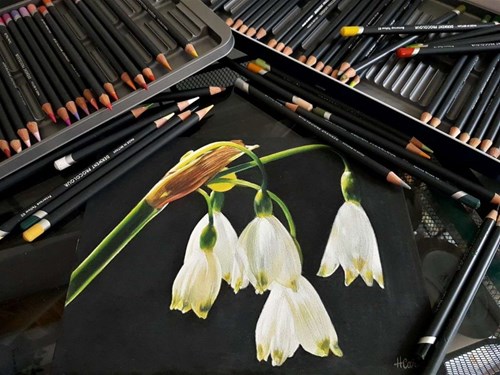
Once that was dry, it was time to add the details with coloured pencil. I used Procolour.
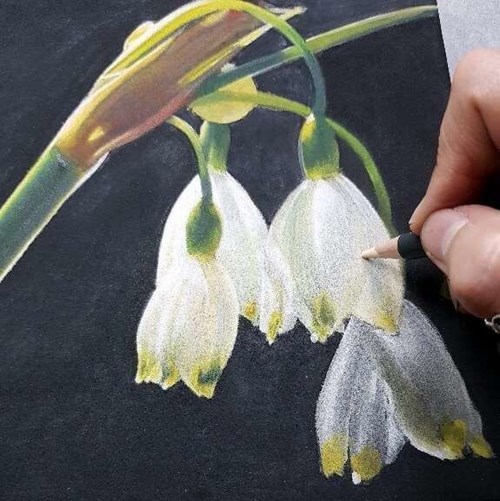
Creating the snowdrops
Creating the snowdrops
To ensure my white highlights were the brightest thing on the page, I chose creams, buttery yellows, grey greens and very light greys to define the shape of the petals.
Because much of the dark page was already covered with pigment, it was much easier to disguise the dark paper under the petals entirely, saving my pencils.
The underpainting worked perfectly to create the basic shading and shape of the snowdrops, making it a simple exercise to deepen and concentrate the colours where I wanted them.
Moving to the thinner stems, I didn’t need to do a great deal beyond tidying up the edges with black, and a little work to blend the shading where it moves from yellow to green to darker green.
Creating the stem

Adding in colours with Inktense blocks
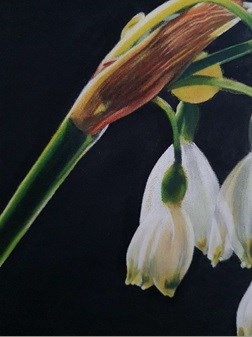
On the main stem, I darkened the central area with a range of greens, from very dark to that acidic grassy green on the outer edge, before outlining with a sharp point of bright yellow to really define the edge.
Some browns and rusty colours were next. Added to the top of the main stem, I was able to define some lines and texture which helped make it look crinkled and a little dry.
The finished piece has all the elements I love in a drawing. High contrast, bright colours and beautiful lighting.
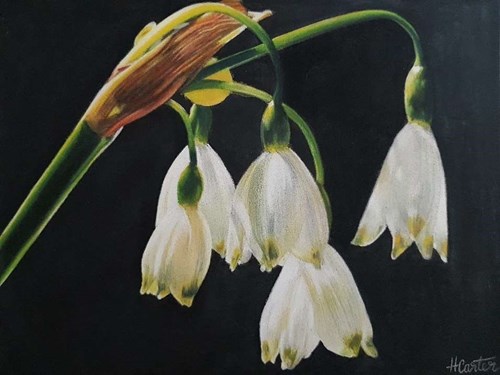
The final piece
The final piece
I hope you try this technique too. Remember, if you don’t have the Inktense blocks, the pencils or the paint pans will work just the same for your underpainting, with Procolour on top for the fine details to make this drawing really come to life.
Thank you to Helen Carter for providing us with this blog. Discover more of Helen’s work on her website, Instagram and Facebook.