
What you will need:
- Procolour Pencils in – Primrose Yellow, Buttercup Yellow, Sunset Gold, Nutmeg, Distant Green, Grass Green, Foliage, Primary Red, Deep Chrome, Burnt Umber, Black
- Sketch paper
- Electric eraser
- Graphite pencil for sketching outline
Preparatory Sketch:
Use an F or 2H pencil to lightly sketch the outline of the conker on to your sketching paper.
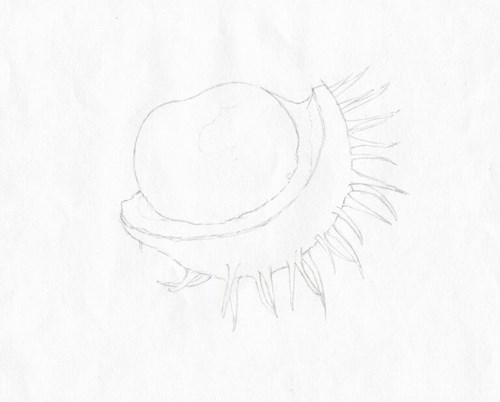
Outline sketch
Step 1:
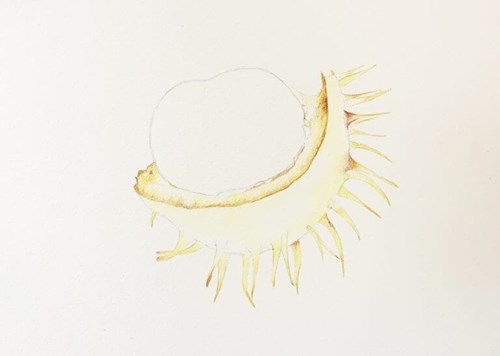
Adding the base yellows
Procolour are always best used super sharp and in layers to build up depth and vibrant colour.
First using Primrose Yellow, add a layer to the soft pith and to the outer shell of the conker. With Buttercup Yellow darken the outer edges of the pith. Add the Buttercup Yellow to the spines and to patches of the shell to give some depth. Use Sunset Gold to add shadow along the crisp edge of the pith and shell. Add the Sunset Gold to the points of the spines and to their bases for a three-dimensional effect. With Nutmeg draw in the darkest shadows on the edges.
Step 2:

Adding the greens
Add a layer of Distant Green to the outside of the conker shell and the spikes where there is no yellow. With Grass Green brighten up the conker shell in the central section and underneath to create depth and form. Add in the very dark green shadows with Foliage Green and use Nutmeg on the darkest parts. Start shading in the lightest parts of the conker with Sunset Gold overlaid with Nutmeg.
Step 3:
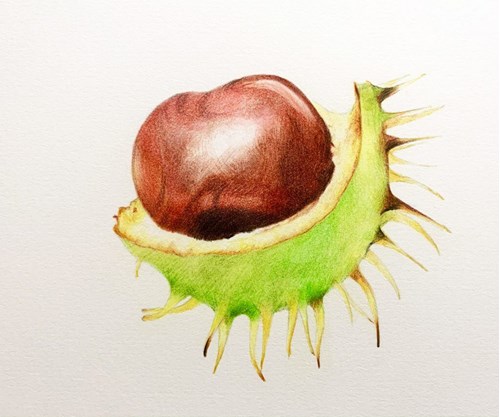
Final piece
Leave the highlights free from pencil. You can use a white pencil to preserve the highlights if you prefer or use an electric eraser to remove some pigment. Use Deep Chrome to add in the brighter vibrant shades to the conker; shade in the bands of shadows. Also use Nutmeg and Burnt Umber to build up the patterning and curvature of the conker fruit. Use light layers to push the pigment into the paper keeping your pencils super sharp at all times. Use Burnt Umber to create depth of shadow and add Black in the very darkest areas to create the three-dimensional appearance of the conker.
Thank you to Judith Selcuk for providing this blog.
Find out more about Judith via her website judithselcukillustrations.com, Facebook, Twitter or Instagram.