
This was my first outing with Derwent Lightfast pencils on the Derwent Lightfast paper. I decided on a peacock as the subject matter for its vivid colours and patterns. I found the reference photo on a site called unsplash taken by a talented photographer named Ricardo Frantz. Unsplash is a great site to find royalty free reference photos on all kinds of topics, just remember to credit the photographer.
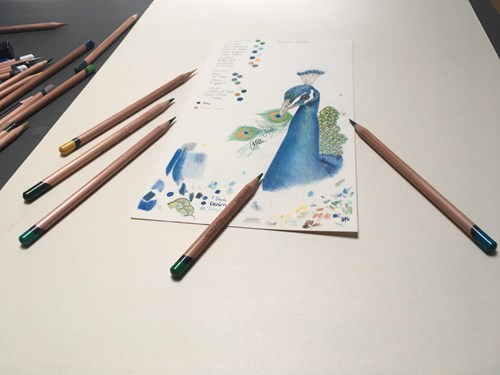
These are the materials I used for this piece.
- Derwent Lightfast 100% cotton paper
- Derwent Graphic F pencil – for sketching
- Ruler for taking measurements
- The following colours, from the Derwent Lightfast 72 Tin:
Grass Green, Grass Green 70%, Vivid Green, Mallard Green, Pine, Dark Turquoise, Turquoise Green, Light Aqua, Mid Ultramarine, Sapphire, Mid Blue, Deep Blue, Denim, Blue Violet, Midnight Black, Dark Indigo, Warm Grey, Amber Gold, Sun Yellow, Brown Ochre, Sandstone, Venetian Red, Wheat, Natural Brown & Black
Using the Derwent Graphic pencil, I sketched out the basic shape of the peacock. Next I created a palette of the 72 colours included in the Derwent Lightfast 72 box. I then did another quick sketch of the peacock’s head and tested out the colours I wanted to use.

Lightfast color swatches
Testing the colours for a peacock
I then proceeded to put down a light layer of Sapphire Blue over the peacock’s body and neck. With the head, I just put a light coating on the areas that would be blue, for the sections that are green, I put down some Light Aqua to begin with.
I then started to darken the blues with multiple layers of Mid Blue and Denim in the darker areas and used Mid Ultramarine in the lighter areas. Green tones are needed on the head and I layered up Green Turquoise and some Vivid Green, and around the green areas I used some Deep Blue, Dark Indigo and Denim to build depth.
For the eye pupil, I used some Midnight Black followed by some Black, carefully leaving a highlighted section. The iris was a layer of Natural Brown followed by some Venetian Red in the lower mid section. Then a darker covering of Natural Brown and some Midnight Black around the edges to give some depth. The eyelid is Warm Grey with some Midnight Black shading.
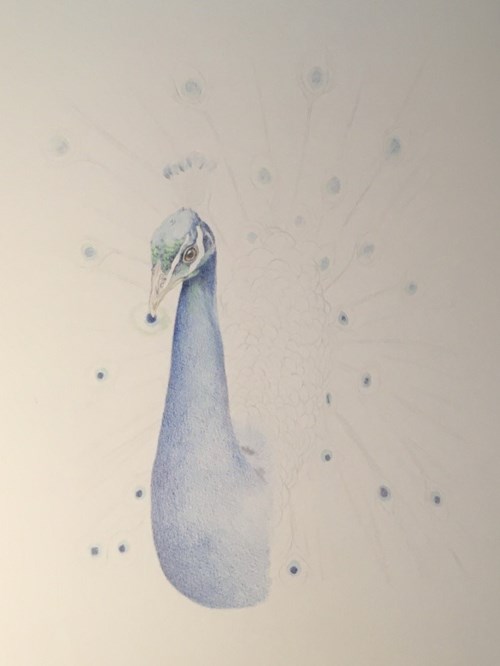
Sketching in the blue
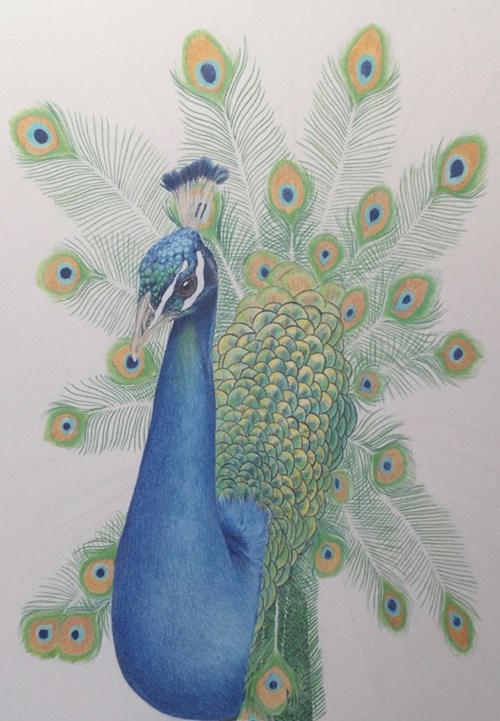
I continued to develop the darker areas of blue on the head, neck and crest. I also built up the paler areas on the head and neck using Mid Ultramarine, Green Turquoise and Light Aqua, following the shading on the reference image.
The beak is small but integral! For this I first laid done a pale layer of Warm Grey, towards the bottom and along the line of the mouth I added some Amber Gold. I added Brown Ochre to the darker areas followed by Midnight Black to add definition.
Once I had finished with the body and head, I began working on the small shiny feathers on the back. These have a lovely shimmer to them involving lots of colours. Again I followed the reference photo roughly marking in the feathers and then outlining them lightly in Midnight Black. I then began layering lighter colours first. I used Sun Yellow and Amber Gold for the yellow tones, Vivid Green and Grass Green for the greens and Brown Ochre with a touch of Venetian Red for the brownish parts in the middle of the feathers. I then overlaid the darker sections with some Dark Turquoise, and then all of the feathers with some Sun Yellow, concentrating this hardest on the palest areas. Finally I went over the edges of the feathers again with Midnight Black to darken them further.
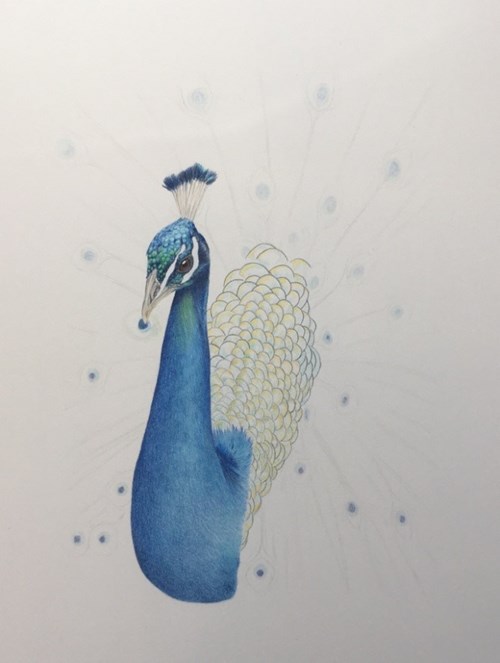
Adding in some green and outlining feathers
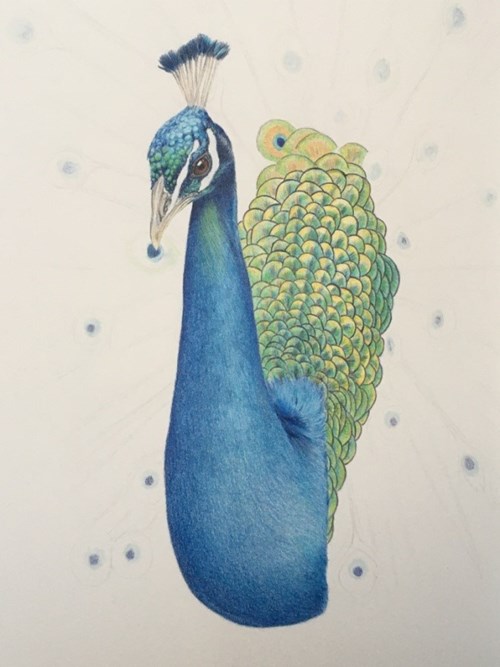
Colouring in the feathers
From this point I went quite organic and started to work on the eye feathers. For the outer green sections, I started with a layer of Amber Gold followed by some Grass Green 70%, with some regular Grass Green and then some Dark Turquoise outlining the golden brown sections. For these parts I again started with a layer of Amber Gold, then some Brown Ochre with Venetian Red highlights. I finished off with a layer of Sun Yellow over the whole area. The lighter blue area involved Mid Ultramarine over some Light Aqua then some Green Turquoise with some Dark Turquoise to add definition. For the dark blue centre I layer Deep Blue, Blue Violet and Sapphire. I then repeated these steps for all of the eyes keeping each one slightly different.
Once I had completed the eyes to this stage, I began to draw in the other feathers using Mallard Green – I decided here to use my artistic license to make the feathers more green than they are in the reference photo. Firstly I began with the feathers that ended in an eye, before adding more and more to frame the bird. I layered Grass Green on top of Mallard Green on the bottom feathers and used the lighter Grass Green 70% on top of the Mallard Green for the top feathers.
Adding in the longer feathers
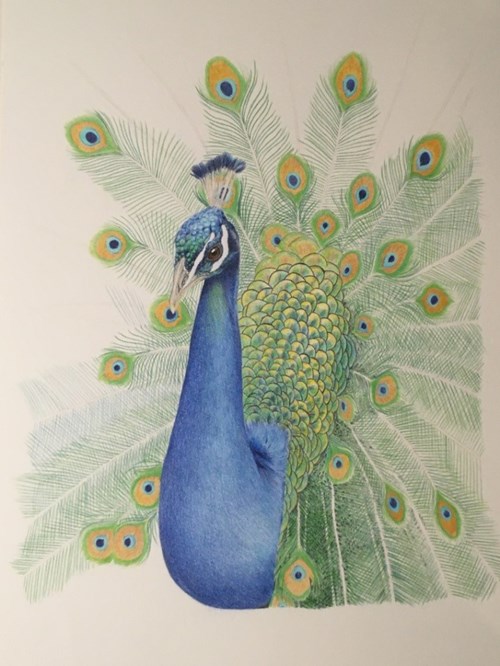
Adding in the longer feathers
Once I had completed the fan, I began to gently shade lines of varying depth leading out from the centre to give the effect of other feathers.
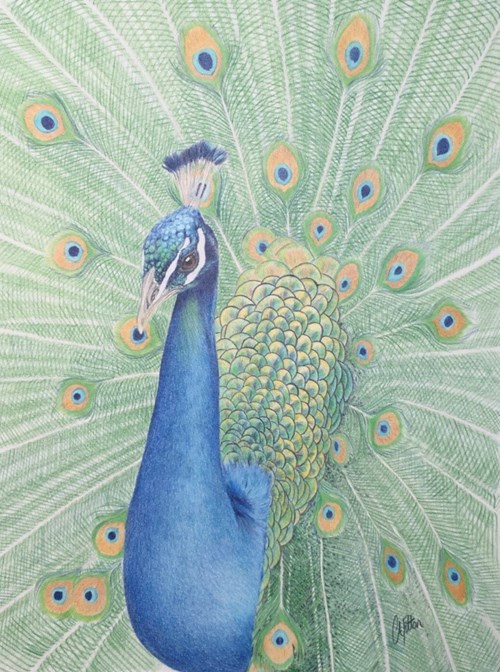
Finishing touches to the peacock
Lastly I darkened these sections randomly and also added some brown highlights to subtly break up the green. I then went back over the green of the feathers with the eyes to make them stand out a little more using the Mallard Green.
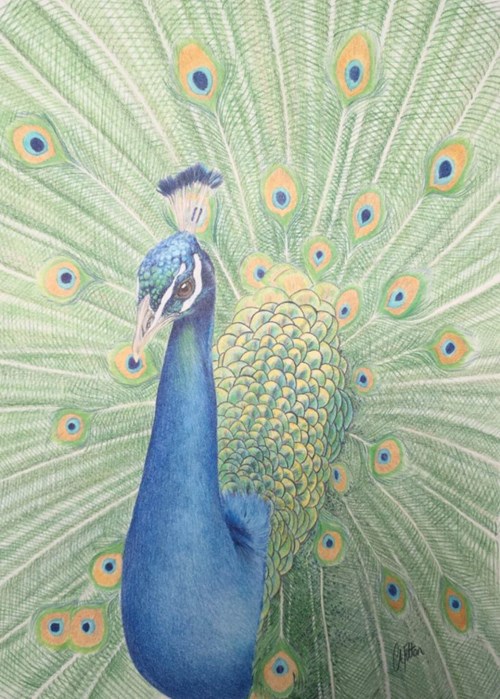
Final peacock piece
I have really enjoyed working with these pencils, as they are creamy and mix well but also hold a point well and the paper complements this. I look forward to using both again very soon.
Thank you to Carl Fitton for providing us with this blog. Discover more of Carl’s work on his website, Facebook and Instagram.